

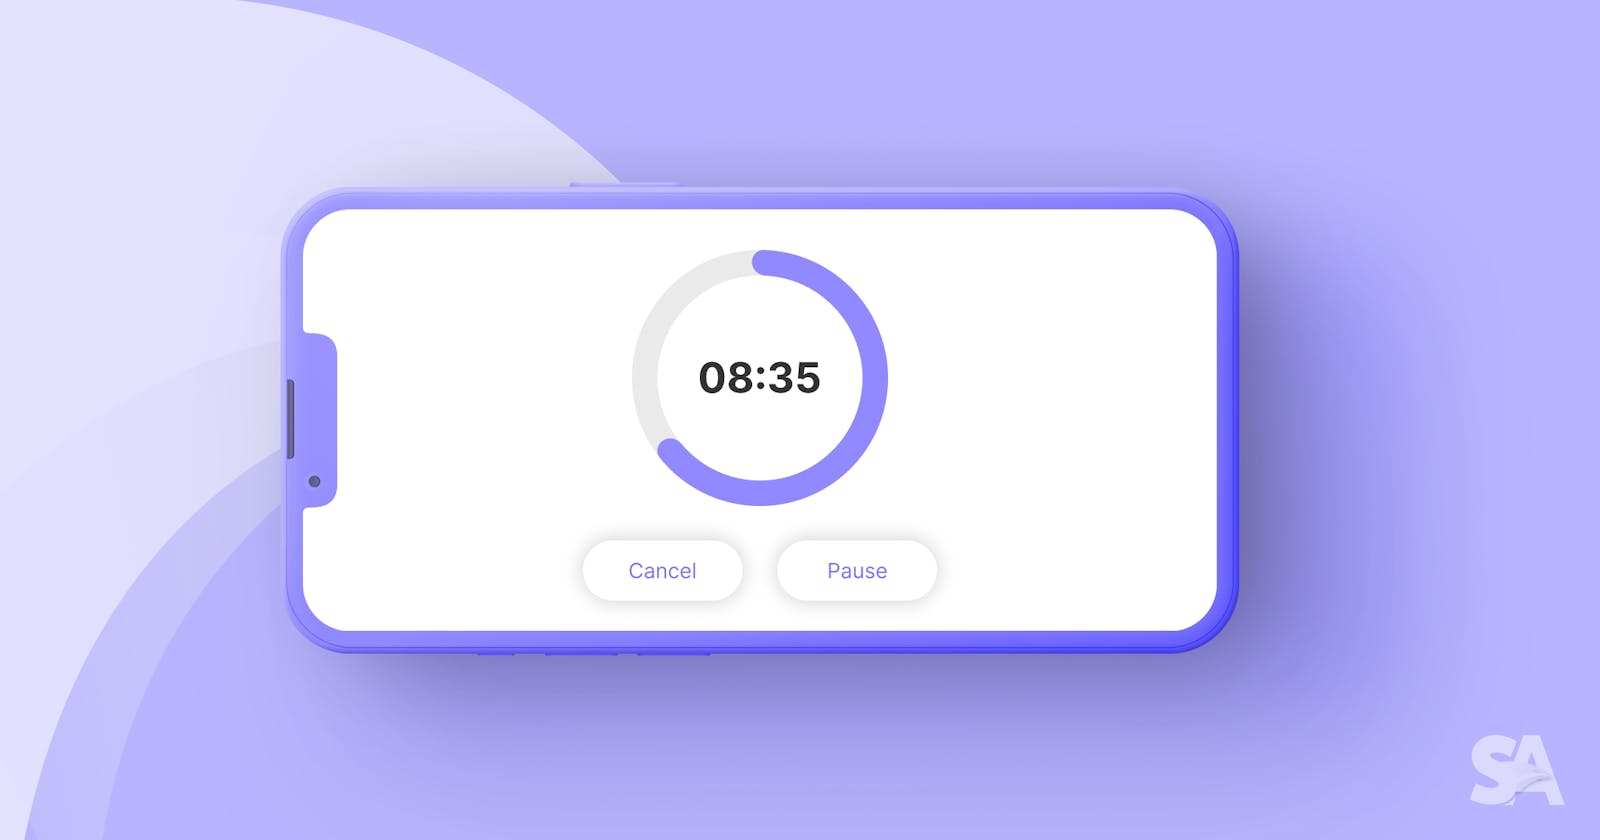


A timer is a class used to perform any task after a specific time interval. Timers are super handy in Swift for scheduling tasks with a delay or scheduling repeating work.
In this article, we are going to cover the following things:
How to schedule tasks?
Repeating and non-repeating timers
Using RunLoop modes
Keep track of the timer
Timer optimization to reduce energy and power impact
class Timer : NSObject
Why Timers are required?
You often face requirements where you need to perform a particular task repeatedly within a particular time interval or scenarios where you need to perform certain actions after a defined time. These are the ideal condition where you could leverage Timers in your codebase.
The timer can be used in some common use cases:
Say you have to automatically call a particular method every 5 seconds.
You want to send a local notification once you terminate the app.
Sync your cart details with the backend by sending updated details after each X time.
In the above scenarios, we can use timers to achieve the repeating and scheduling behavior.
Repeating Vs Non-repeating Timers
You have to specify whether a timer is repeating or non-repeating at the time of creation. Here is the main difference between both:
A non-repeating timer fire once and then invalidates itself automatically, so, it prevents the timer from firing again.
A repeating timer fires and then reschedules itself on the same run loop. A repeating timer always schedules itself based on the scheduled firing time, as opposed to the actual firing time.
For example, if a timer is scheduled to fire at a specific time and every 10 seconds after that, the scheduled firing time will always fall on the original 10-second time intervals, even if the actual firing time gets delayed.
Scheduling a repeating task
Creating a repeating task is very simple.
override func viewDidLoad() {
    super.viewDidLoad()

    // scheduling a timer in repeat mode after each 2 seconds.
    let timer = Timer.scheduledTimer(timeInterval: 2,
                                     target: self,
                                     selector: #selector(handleTimerExecution),
                                     userInfo: nil,
                                     repeats: true)
}

@objc private func handleTimerExecution() {
    print("timer executed...")
}
In the above code,
A timer is created with the class method scheduledTimer by passing parameters like time interval, userInfo and repeat mode, etc. Remember that time intervals always take time in seconds.
Here, we set the time to 2 seconds, which means the action (handleTimerExecution) will execute after every 2 seconds.
With userInfo you can pass the extra information along with the Timer object. The object should be in dictionary format.
We have used the target-action mechanism to perform a task.
Most importantly, you have set the repeat parameter true to make the timer repeatable.
When you run the code above, you will see that the handleTimerExecution method will continue to be called indefinitely. Because we haven't handled the timer's ended case in the above code.
Even though the timer constant was created inside the viewDidLoad() local context, it will outlive that function, since Runloop keeps a reference to the timer object.
Note: The @objc attribute makes the handleTimerExecution() function available in Objective-C. And the timer class is a part of Objective-C runtime, that's why we need the @objc attribute here.
In iOS, target action is a mechanism to call a particular method on a certain object. Here target is something on which action method is going to call and actionmeans a method that will be called.
How to send info with a timer?
Really, can we send information along with a timer??? Yes, it's simple to pass some useful info while creating a timer object.
private var timer: Timer?

override func viewDidLoad() {
    super.viewDidLoad()

    let userInfo = ["fullName": "John Martin", "age": 30] as [String : Any]

    self.timer = Timer.scheduledTimer(timeInterval: 1,
                                      target: self,
                                      selector: #selector(handleTimerExecution(_:)),
                                      userInfo: userInfo,
                                      repeats: true)
}

@objc private func handleTimerExecution(_ timer: Timer) {
    if let userInfo = timer.userInfo as? [String: Any] {
        print("user info: \(userInfo)")
        self.timer?.invalidate()
    }

    // here is a fallback to end timer if userInfo not found
}
Scheduling a repeating task using a closure:
let timer = Timer.scheduledTimer(withTimeInterval: 2.0,
                                         repeats: true) { timer in
    print("timer executed...")
}
Above, we have scheduled a repeating timer using a closure. In this way, you will receive the timer's execution within the same block. You don't need to define a separate method like a target-action mechanism.
Did you find this cool???? yesss, closure based timer is really cool.
How to stop a repeating timer?
To stop a repeated timer in Swift is very simple. A timer class does provide an instance method called invalidate().
private var timerCurrentCount = 0

let timer = Timer.scheduledTimer(withTimeInterval: 2.0,
                                         repeats: true) { timer in

    // check for max execution count of timer.
    if self.timerCurrentCount == 5 {
        timer.invalidate() // invalidate the timer
    } else {
        print("timer executed...")
        self.timerCurrentCount += 1
    }
}
Points to note here:
You can have to take care of the timer's termination very carefully. Because a repeating timer will never end if the end conditions do not match.
For the target-action mechanism, you have to make the timer variable an instance variable outside the function like in the example below.
private var timer: Timer?

override func viewDidLoad() {
    super.viewDidLoad()

    self.timer = Timer.scheduledTimer(timeInterval: 2,
                                      target: self,
                                      selector: #selector(handleTimerExecution),
                                      userInfo: nil,
                                      repeats: true)
}

@objc private func handleTimerExecution() {
    if self.timerCurrentCount == 5 {
        self.timer?.invalidate() // invalidating timer
    } else {
        print("timer executed...")
        self.timerCurrentCount += 1
    }
}
Scheduling a non-repeating task
Using a timer, creating a non-repeating task is very similar to the repeated method. While you create a timer, you set a boolean to the repeat parameter.
To make timer non-repeatable, simply sets this parameter as false.
override func viewDidLoad() {
    super.viewDidLoad()

    let timer = Timer.scheduledTimer(timeInterval: 1,
                                      target: self,
                                      selector: #selector(handleTimerExecution(_:)),
                                      userInfo: userInfo,
                                      repeats: false)
}
In the above code, timer will fire only once.
In Swift, we have an alternative approach to define a non-repeating task using GCD like below:
DispatchQueue.main.asyncAfter(deadline: .now() + 5.0) {
   print("timer executed")
}
In the above method, you can see a scheduled task that will execute after 5 seconds from the current time. In the code, the now() function returns the current time. In the GCD approach, you don't need to invalidate the timer. RunLoop automatically invalidates the timer.
Timer Tolerance & RunLoop Modes
The timers work with RunLoop together. RunLoop is a fundamental part of threads and concurrency.
When you schedule a timer, it's managed by a RunLoop. The run-loop keeps looping and executing tasks for repeating timers. When no tasks are left to execute, the run-loop waits or quits.
An increasing number of timers in the app increases the risk of less responsiveness and more power usage. Because every timer fires at each second in the app.
When we create a timer, we can easily set the tolerance property to reduce the power consumption of the app. Its default value is 0.0 but you can set this value in the 0-1 range.
For example, you have created a repeating timer with the tolerance value 0.1. This means the system will fire the timer any time between the scheduled fire date and the scheduled fire date plus tolerance time (i.e. 0.1) — never before the scheduled fire date.
timer?.tolerance = 0.1
How to utilise RunLoop?
Basically, a RunLoop mode is a collection of input sources like touches, clicks, swiping, dragging, timer events etc.
Each timer fires on the main thread and is attached to a RunLoop. We know that the main thread is also responsible for UI drawing, user interaction handling etc. Suppose the main thread is busy in timer execution then your UIs may be unresponsive.
How to solve this problem?
It's very simple to handle such problem. There are three types of RunLoop modes in iOS:
default: It handles input sources that are not NSConnectionObjects.
common: It handles a set of other run loop modes like timers, observers etc.
tracking: It handles the UI responsiveness in the app.
So common mode is good to use when we have multiple repeating timers in the app to avoid such problems. Example:
RunLoop.current.add(timer, forMode: .common)
Remember that, this is not needed for usual implementation. This line will be required in special cases which we explained above.
Points to remember:
When your app enters the background, iOS pauses any running timers and when the app enters the foreground again, iOS resumes the timers.
Each timer fires on the main thread and is attached to a RunLoop.
Don't forget to stop the timer once the task is completed to reduce battery drain.
When you use a timer, you can't be sure that it will be executed at the same time. But you can only be sure that you will get a callback according to the time interval sets on the timer.
Eat. Sleep. Swift Anytime. Repeat.